Note: I've updated this tutorial for Drupal 6 in this post on the Geeks and God website.
Old school web design meant including a page full of links to other websites. As older sites are transitioned into current practice, many site owners expect this trend to continue. And in some ways it has, most commonly as a block containing a blogroll of other sites. This method can provide both solutions by creating a custom content type that will turn links into nodes, and can then display them as a page or block using Views.
This tutorial assumes that you have a running Drupal site and understand the basics of downloading and installing contributed modules.
For this exercise, we'll need the CCK, Views, Links and Automatic Nodetitles modules. Unpack each module into its own folder under sites/all/modules, then enable Content, Links, Automatic Nodetitles, Views and Views UI on the admin/build/modules page.
Creating the Content Type
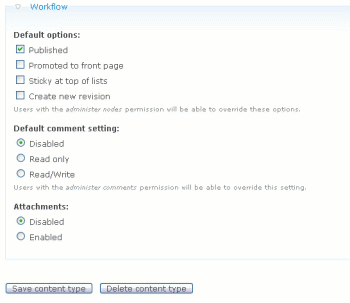
Custom content types arent as difficult to create as it may seem. There is nothing special about the delivered Story and Page types, which can be altered, renamed or removed, depending on how you want your site to function. Any new content type will initially have the same properties as these default types. Under admin/content/types, simply select Add Content Type to get started. The name of our new type will be Link, and the type will be link. For my example, I've relabeled the Body field as Description, allowing the user to use this field for optional teaser text. Also, we won't want these nodes automatically promoted to the front page, and we'll disallow comments and attachments.

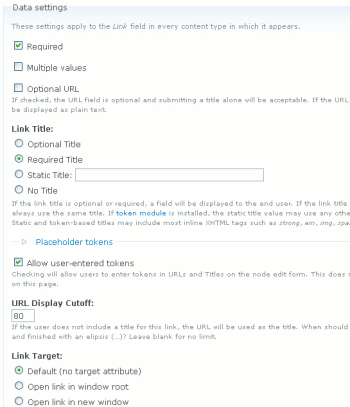
With our basic link type created, we're now ready to add a Link-type field. I made mine with a label of "Link" as a required field with the link title required. We need this, because we're also going to force each entry to use the link title as the node title, rather than make the user enter the information twice.

We'll want to fine tune the display of our custom field, making the label hidden, and the field display "Title, as link" for both teasers and full entries.

Now we'll go back to edit the content type itself and spin open the Automatic Nodetitle section at the top, setting title generation to "Automatically generate the title and hide the title field." Assuming that we've created a field named link, our title pattern becomes [field_link-title]. We've now created a fairly simple content type. We'll simplify the user's job of data entry even more before we're through.
Create a View
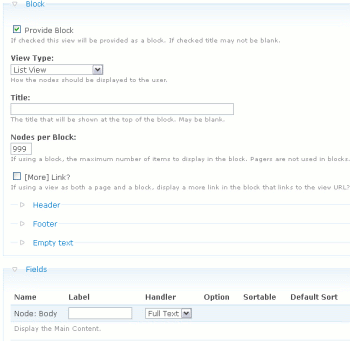
For this example, we're going to build a simple block view and associate it with a single page. This will make it easy for future site maintainers to edit the info at the top of the page without delving into the depths of views editing. Create a new view and provide a block, making a list view. Because of the way we defined our view, we can use the full text of the node body as the only field to display. This will show the our links, followed by the optional descriptions in the body text if our users provide them.

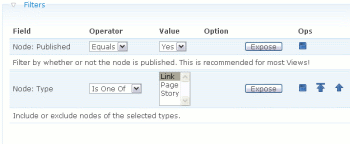
Set filters on the feed to only display published nodes of type link. Sort the view however you prefer.

Now create a regular page node titled Links or Link List. For best results, enable the Path module and give this page a simple URL of "links." This way, you'll be able to use the URL alias when setting up the block. In the blocks menu, display your new block in the content area, and then go into the "configure" link and set the block to only appear on the links page.
That's all there is to it! Now you can allow site users to create links without them having to actually manage the presentation aspects of the links page. The only side effect of this method is that the individual link nodes are not easy to access for editing. This can be fixed by providing your users with a table view that includes edit links.